# Configure the assistant (/assistant/configure)
Related: [Customize assistant behavior](/assistant/customize.md), [Embed the AI assistant widget](/assistant/widget.md), [Add assistant skills](/assistant/skills.md), [Use the assistant](/assistant/use.md), [Credit pricing](/credits.md)
Configure the assistant on the [Assistant](https://app.mintlify.com/products/assistant) page of your dashboard. Manage billing and usage on the [Usage](https://app.mintlify.com/settings/organization/usage) page.
## Enable or disable the assistant [#enable-or-disable-the-assistant]
Toggle the status to enable or disable the assistant for your documentation site.

 ## Set deflection emails [#set-deflection-emails]
In the Response Handling section, enable the assistant to prompt users to contact your support and sales teams when it can't answer a question on its own.
Choose the **Email** deflection mode, then enter one or both of the following addresses:
* **Support**: For questions the assistant can't resolve from your documentation.
* **Sales**: For questions about pricing, plans, or purchasing.
When you enable deflection and the assistant detects a matching question, an in-chat contact form appears. The form asks for the user's first name, last name, company, company email, and a message. Mintlify emails the submission to the appropriate team, which can respond directly to the user's email.
The same contact form is available in the [assistant widget](/assistant/widget) embedded on other sites.
If you prefer to route support questions to your existing support channels instead, disable the **Contact form** in the Response Handling section.
When you disable the contact form, the assistant directs users to your support email address in plain text instead of showing the in-chat form. Sales questions still use the in-chat form when you configure a sales email.
## Deflect to a support link [#deflect-to-a-support-link]
Switch the deflection mode to **Link** to send users to your existing support platform (for example, a help center, ticket portal, or community forum) instead of collecting email through an in-chat form.
Enter the full URL of your support destination. The URL must use `http` or `https` and cannot include credentials.
When the assistant detects a support question, it shows the user a card linking to your support URL. Mintlify appends the assistant thread ID as a `threadId` query parameter so your support tool can attach the conversation transcript to the resulting ticket. Fetch the transcript with the [Get assistant conversation thread](/api/analytics/assistant-thread) endpoint.
In link deflection mode, the assistant does not show the email contact form. Sales deflection is only available in email mode.
## Search domains [#search-domains]
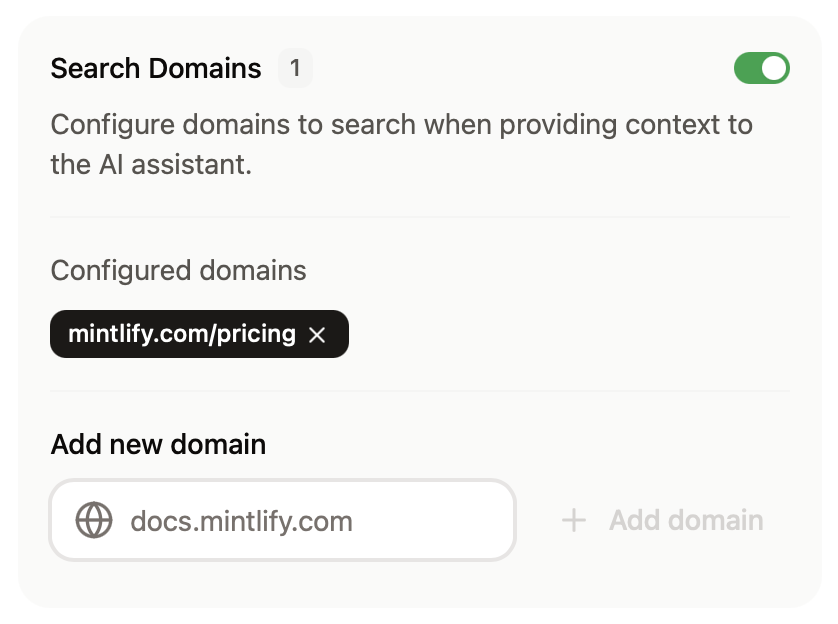
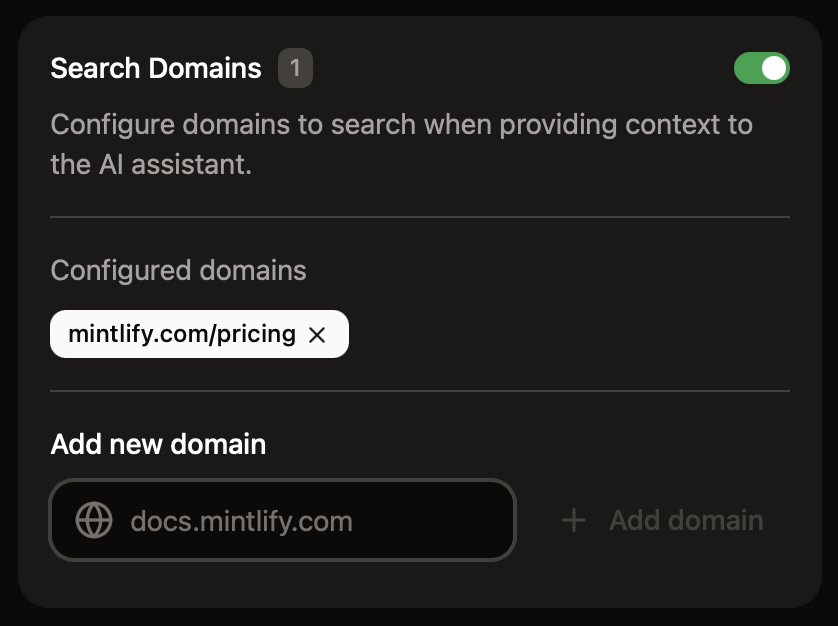
In the Response Handling section, configure domains that the assistant can use for web search to find additional context when answering questions.
* Domains must be publicly available.
* The assistant can't search domains that require JavaScript to load.
## Set deflection emails [#set-deflection-emails]
In the Response Handling section, enable the assistant to prompt users to contact your support and sales teams when it can't answer a question on its own.
Choose the **Email** deflection mode, then enter one or both of the following addresses:
* **Support**: For questions the assistant can't resolve from your documentation.
* **Sales**: For questions about pricing, plans, or purchasing.
When you enable deflection and the assistant detects a matching question, an in-chat contact form appears. The form asks for the user's first name, last name, company, company email, and a message. Mintlify emails the submission to the appropriate team, which can respond directly to the user's email.
The same contact form is available in the [assistant widget](/assistant/widget) embedded on other sites.
If you prefer to route support questions to your existing support channels instead, disable the **Contact form** in the Response Handling section.
When you disable the contact form, the assistant directs users to your support email address in plain text instead of showing the in-chat form. Sales questions still use the in-chat form when you configure a sales email.
## Deflect to a support link [#deflect-to-a-support-link]
Switch the deflection mode to **Link** to send users to your existing support platform (for example, a help center, ticket portal, or community forum) instead of collecting email through an in-chat form.
Enter the full URL of your support destination. The URL must use `http` or `https` and cannot include credentials.
When the assistant detects a support question, it shows the user a card linking to your support URL. Mintlify appends the assistant thread ID as a `threadId` query parameter so your support tool can attach the conversation transcript to the resulting ticket. Fetch the transcript with the [Get assistant conversation thread](/api/analytics/assistant-thread) endpoint.
In link deflection mode, the assistant does not show the email contact form. Sales deflection is only available in email mode.
## Search domains [#search-domains]
In the Response Handling section, configure domains that the assistant can use for web search to find additional context when answering questions.
* Domains must be publicly available.
* The assistant can't search domains that require JavaScript to load.
 For more precise control over what the assistant can search, use filtering syntax.
* **Domain-level filtering**
* `example.com`: Search only the `example.com` domain
* `docs.example.com`: Search only the `docs.example.com` subdomain
* `*.example.com`: Search all subdomains of `example.com`
{/* vale Vale.Terms = NO */}
* **Path-level filtering**
* `docs.example.com/api`: Search all pages under the `/api` subpath
{/* vale Vale.Terms = YES */}
* **Multiple patterns**
* Add multiple entries to target different sections of sites
## Add sample questions [#add-sample-questions]
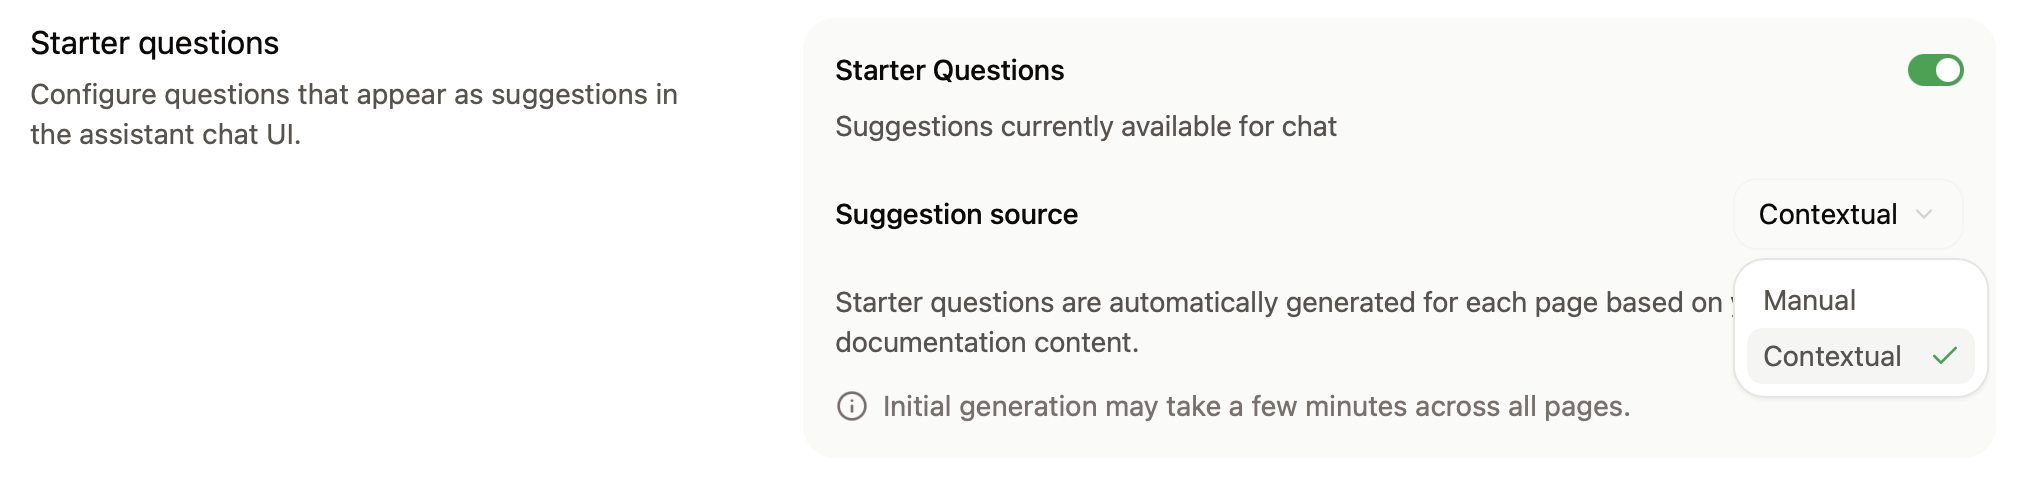
Help your users begin conversations with the assistant by adding starter questions.
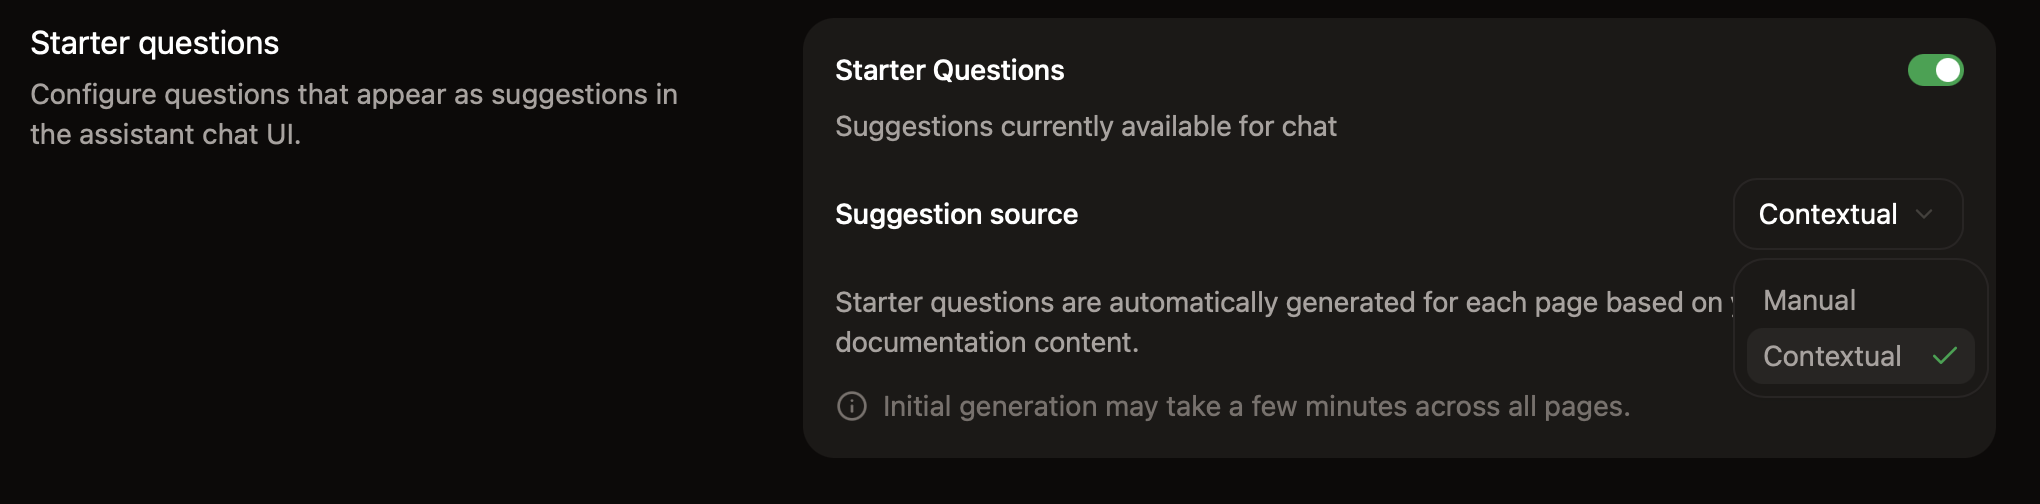
The assistant can generate page-specific questions based on the page a user is viewing, or you can add persistent questions that are available across pages.
You can add up to three starter questions. Click **Ask Assistant** for recommended questions based on your documentation.
For more precise control over what the assistant can search, use filtering syntax.
* **Domain-level filtering**
* `example.com`: Search only the `example.com` domain
* `docs.example.com`: Search only the `docs.example.com` subdomain
* `*.example.com`: Search all subdomains of `example.com`
{/* vale Vale.Terms = NO */}
* **Path-level filtering**
* `docs.example.com/api`: Search all pages under the `/api` subpath
{/* vale Vale.Terms = YES */}
* **Multiple patterns**
* Add multiple entries to target different sections of sites
## Add sample questions [#add-sample-questions]
Help your users begin conversations with the assistant by adding starter questions.
The assistant can generate page-specific questions based on the page a user is viewing, or you can add persistent questions that are available across pages.
You can add up to three starter questions. Click **Ask Assistant** for recommended questions based on your documentation.
 ## Bot protection [#bot-protection]
In the **Bot Protection** section, enable invisible captcha to protect your assistant from automated abuse. The bot protection is privacy-friendly and invisible to nearly all visitors.
To enable bot protection:
1. Navigate to the [Assistant settings](https://app.mintlify.com/products/assistant/settings) page in your dashboard.
2. In the **Bot Protection** section, toggle **Invisible Captcha** on.
Changes take up to 10 minutes to propagate.
If you use custom [Content Security Policy headers](/deploy/csp-configuration), you must include `hcaptcha.com` and `*.hcaptcha.com` in your allowlist.
## Manage billing [#manage-billing]
The assistant runs on credits. Each question the assistant answers costs 25 credits. If the assistant can't find an answer in your docs and says so, the message costs nothing. See [Credit pricing](/credits) for more information.
On Enterprise plans, you can [bring your own model](/ai/bring-your-own-model) to run the assistant on your own LLM provider and API key, which meters usage at a reduced credit rate.
### Change your credit tier [#change-your-credit-tier]
1. Navigate to the [Usage](https://app.mintlify.com/settings/organization/usage) page of your dashboard.
2. In the **Credit packages** section, select a tier from the dropdown menu.
3. Confirm the change to proceed to checkout.
### Allow overages [#allow-overages]
Your organization shares credits across deployments. By default, Mintlify disables overages. You can configure different overage limits for each deployment. If you disable overages for a deployment, the assistant becomes unavailable if you spend your organization's shared credit balance. The assistant remains unavailable until your credit balance resets.
To allow overages, enable them in the **Spending controls** section of the [Usage](https://app.mintlify.com/settings/organization/usage) page of your dashboard. If you enable overages, each credit spent beyond the shared balance incurs an overage charge.
### Set usage alerts [#set-usage-alerts]
In the **Spending controls** section of your dashboard, set usage alerts to receive an email when your organization reaches a certain percentage of its shared credit balance.
### Higher credit volumes [#higher-credit-volumes]
For plans larger than 10,000 credits per month, [contact sales](mailto:sales@mintlify.com) to discuss custom credit packages.
## Bot protection [#bot-protection]
In the **Bot Protection** section, enable invisible captcha to protect your assistant from automated abuse. The bot protection is privacy-friendly and invisible to nearly all visitors.
To enable bot protection:
1. Navigate to the [Assistant settings](https://app.mintlify.com/products/assistant/settings) page in your dashboard.
2. In the **Bot Protection** section, toggle **Invisible Captcha** on.
Changes take up to 10 minutes to propagate.
If you use custom [Content Security Policy headers](/deploy/csp-configuration), you must include `hcaptcha.com` and `*.hcaptcha.com` in your allowlist.
## Manage billing [#manage-billing]
The assistant runs on credits. Each question the assistant answers costs 25 credits. If the assistant can't find an answer in your docs and says so, the message costs nothing. See [Credit pricing](/credits) for more information.
On Enterprise plans, you can [bring your own model](/ai/bring-your-own-model) to run the assistant on your own LLM provider and API key, which meters usage at a reduced credit rate.
### Change your credit tier [#change-your-credit-tier]
1. Navigate to the [Usage](https://app.mintlify.com/settings/organization/usage) page of your dashboard.
2. In the **Credit packages** section, select a tier from the dropdown menu.
3. Confirm the change to proceed to checkout.
### Allow overages [#allow-overages]
Your organization shares credits across deployments. By default, Mintlify disables overages. You can configure different overage limits for each deployment. If you disable overages for a deployment, the assistant becomes unavailable if you spend your organization's shared credit balance. The assistant remains unavailable until your credit balance resets.
To allow overages, enable them in the **Spending controls** section of the [Usage](https://app.mintlify.com/settings/organization/usage) page of your dashboard. If you enable overages, each credit spent beyond the shared balance incurs an overage charge.
### Set usage alerts [#set-usage-alerts]
In the **Spending controls** section of your dashboard, set usage alerts to receive an email when your organization reaches a certain percentage of its shared credit balance.
### Higher credit volumes [#higher-credit-volumes]
For plans larger than 10,000 credits per month, [contact sales](mailto:sales@mintlify.com) to discuss custom credit packages.